Wishlist access
Choose where customers access their wishlist.
What is Wishlist access?
Wishlist Access determines how customers find and open their wishlist on your store. This feature lets you control where and how wishlist entry points appear on your storefront, helping you create an intuitive shopping experience.
Why configure Wishlist access?
- Improved User Experience: Place wishlist access points where customers naturally look for them
- Brand Consistency: Style access points to match your store's design
- Flexible Placement: Position floating buttons exactly where they work best on your storefront
- Higher Engagement: Keep the wishlist visible right inside the cart drawer, so customers check and add items without leaving checkout flow
How to configure Wishlist access?
Select Access types
- From your Shopify admin, go to Apps > Joy Wishlist
- Click on Wishlist Design in the navigation menu
- Make sure you're on the "Wishlist Access" tab
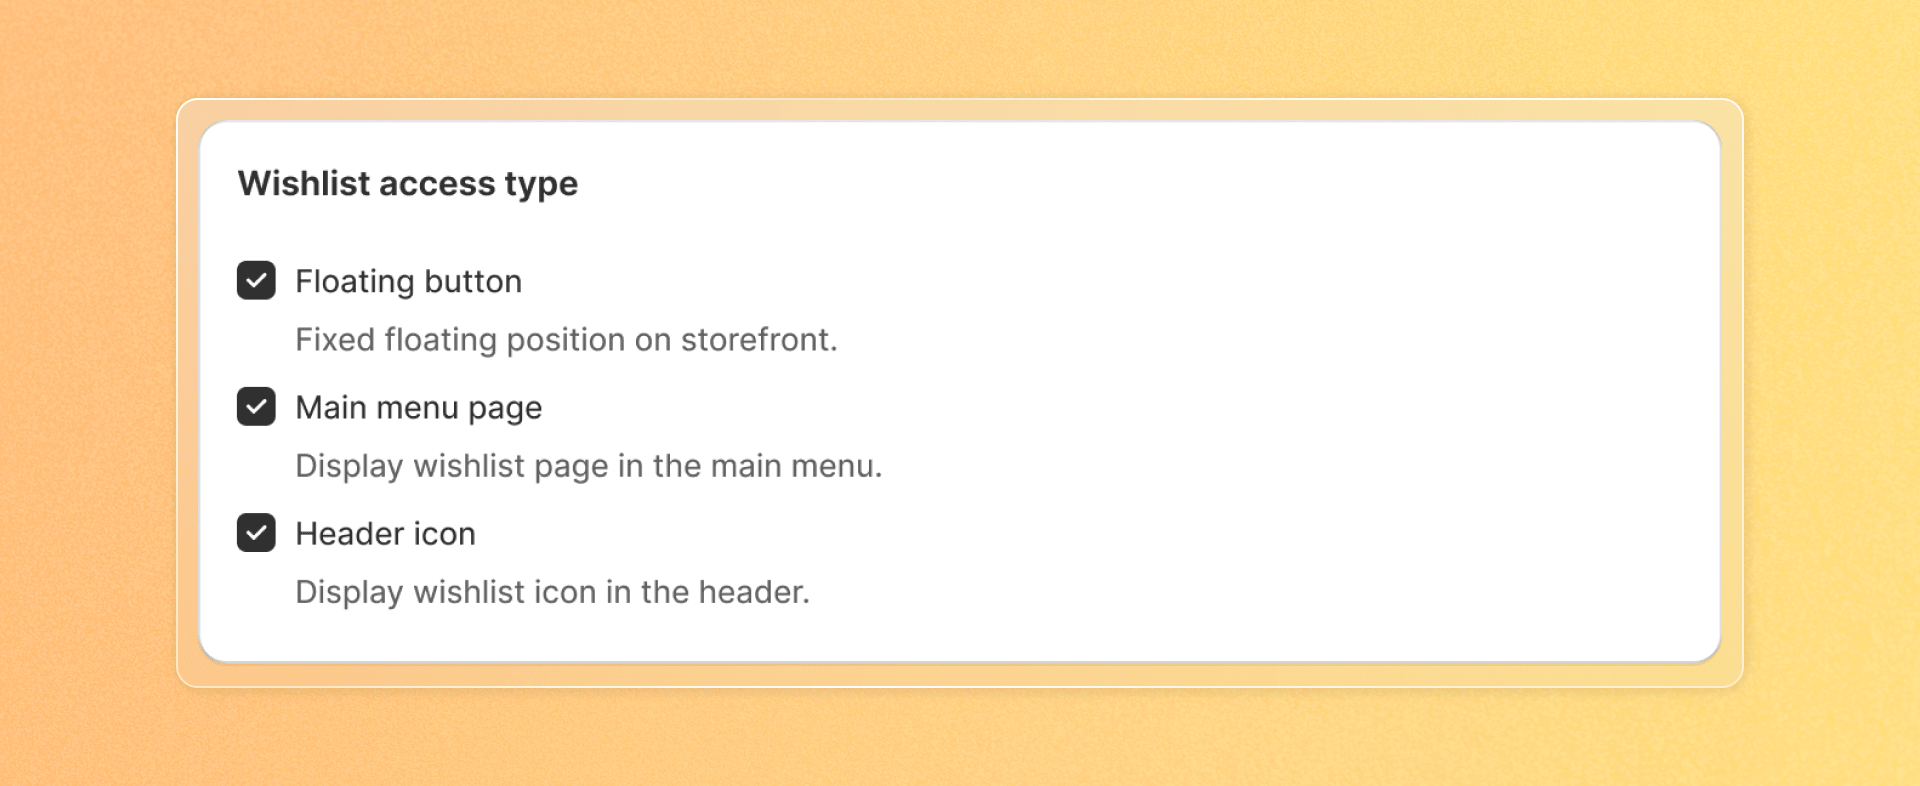
- Under "Wishlist access" type, select one or more options:
- Floating button: A fixed button that appears on your storefront pages
- Main menu page: Adds a wishlist page to your store's main navigation menu
- Header icon: Places a wishlist icon in your store's header area
You can select multiple access types to give customers different ways to find their wishlist.
Note: In some stores, the main menu page may not appear automatically after saving. If that happens, you can add it manually in Shopify:
- In your Shopify admin > Content > Menus.
- Open your Main menu.
- Click Add menu item.
- In the Name field, enter a label (for example, My Wishlist).
- In the Link field, select Pages, then choose the Wishlist page.
- Tick ✓, then click the Save menu.
Enable Cart drawer integration
- Under "Cart drawer integration," turn on "Show wishlist tab inside cart drawer"
- Customers will then see Cart and Wishlist tabs whenever they open the cart drawer — the tab stays visible even when the cart is empty, so they can always switch over
- From the Wishlist tab, customers can add items straight to their cart; the button updates to show the item has been added, so there's no need to leave the drawer
Cart drawer integration is verified on the Dawn, Impulse, Prestige, and Motion themes, and requires your theme to have a cart drawer. If the tab doesn't display correctly on your theme, click Contact us to get a quick fix! next to the toggle and the Joy team will help.
Configure Floating button position (if selected)
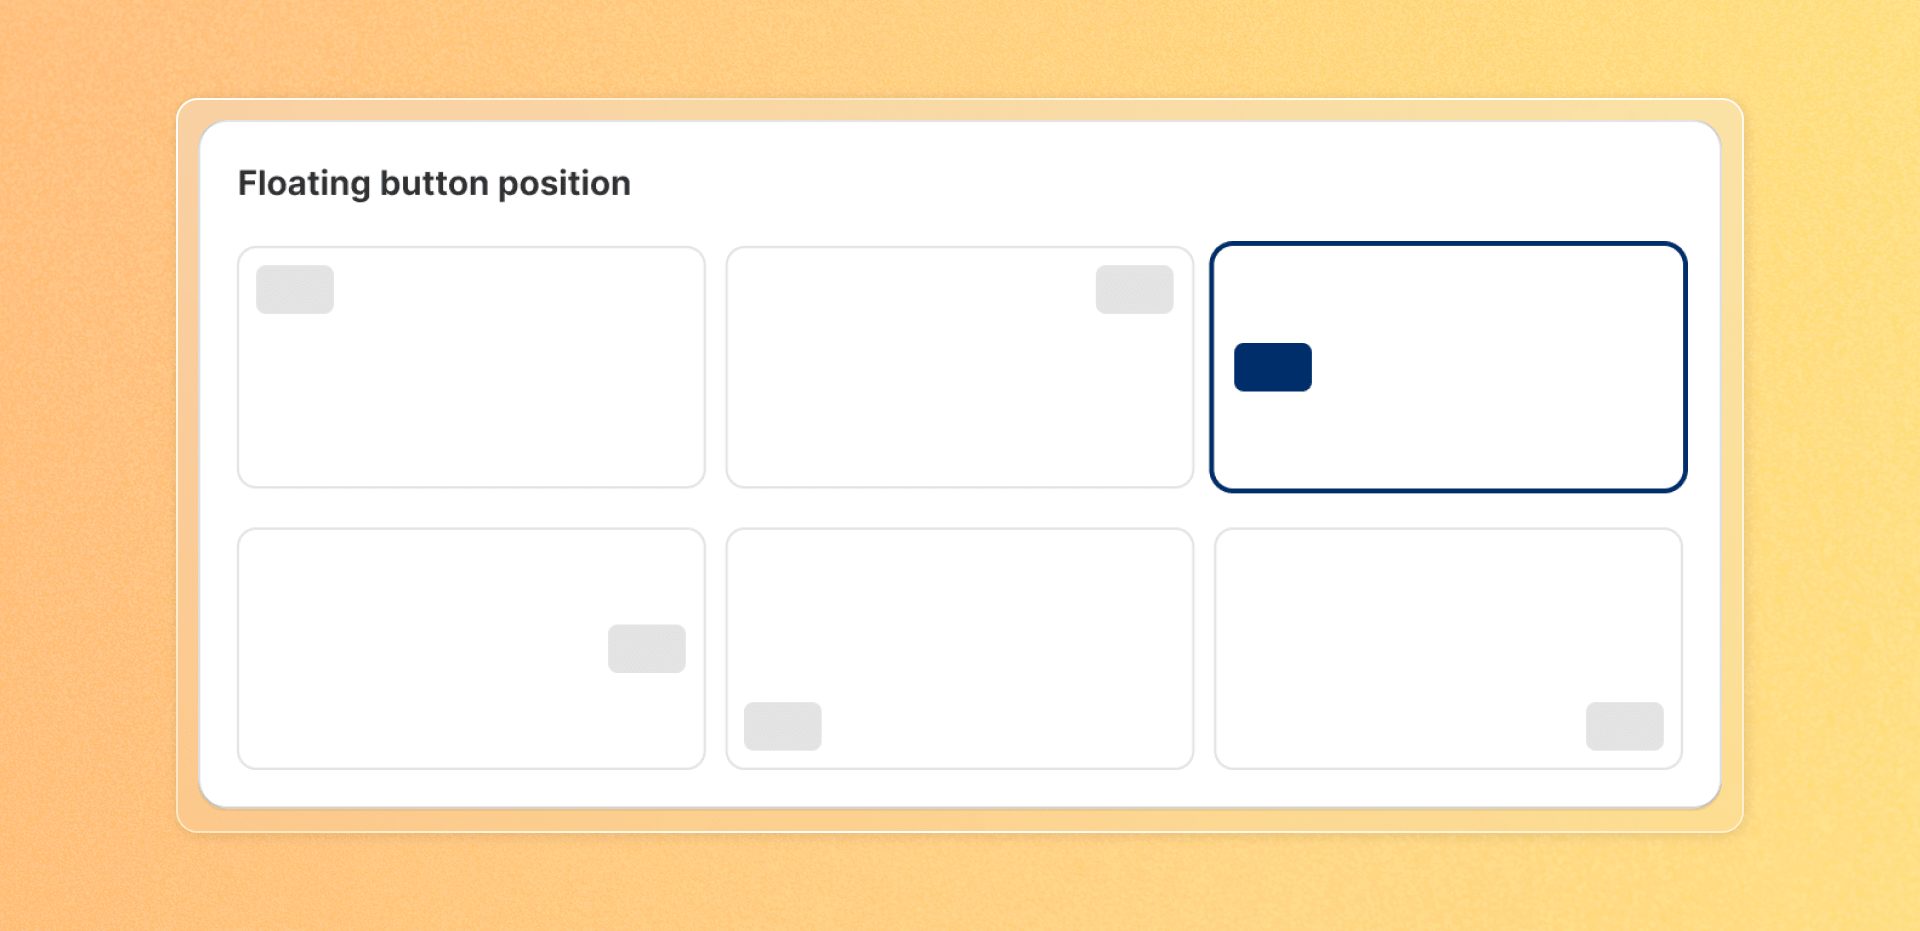
Under "Floating button position," select where you want the button to appear:
- Top left
- Top right
- Center left
- Center right
- Bottom left
- Bottom right
Configure counter display
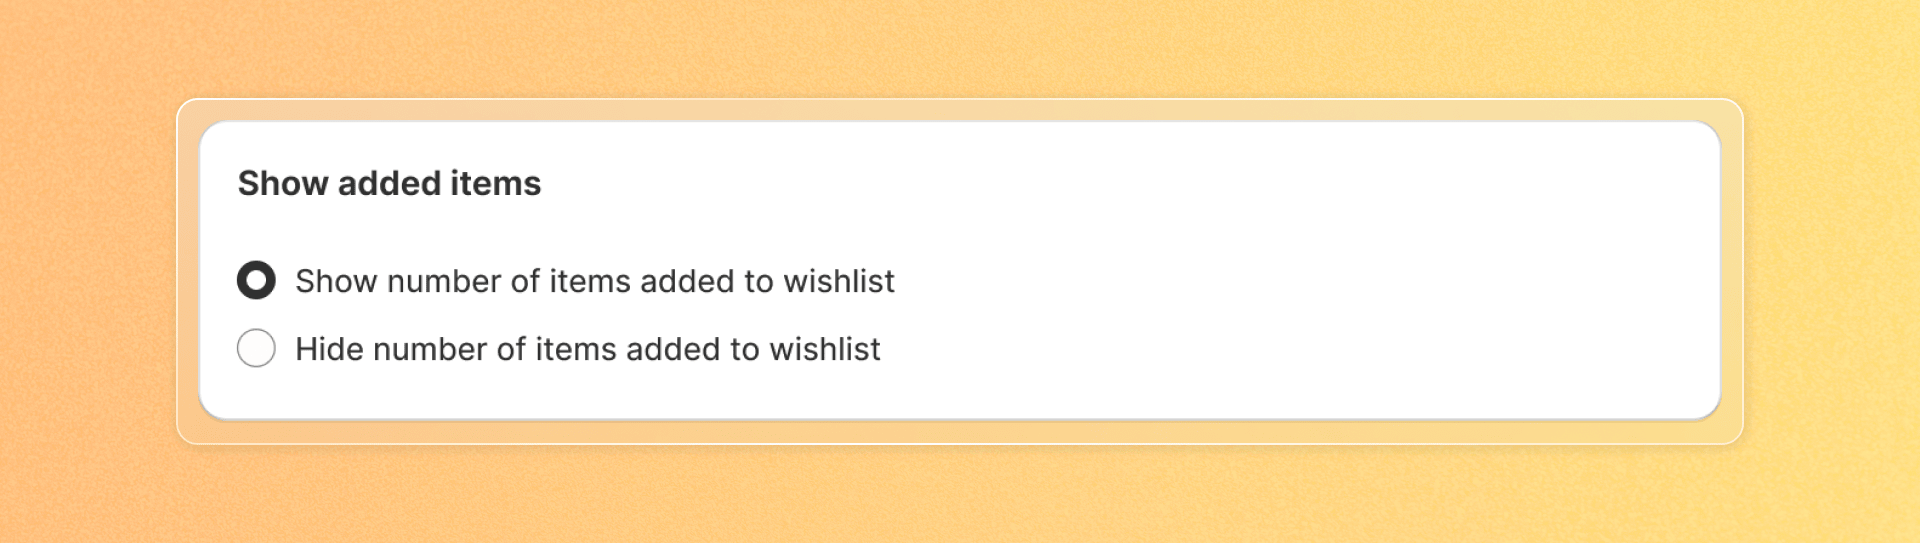
Under "Show added items," choose:
- Show number of items: Displays a small counter with the number of items in the wishlist
- Hide number of items: Shows only the wishlist icon without a counter
Customize button appearance
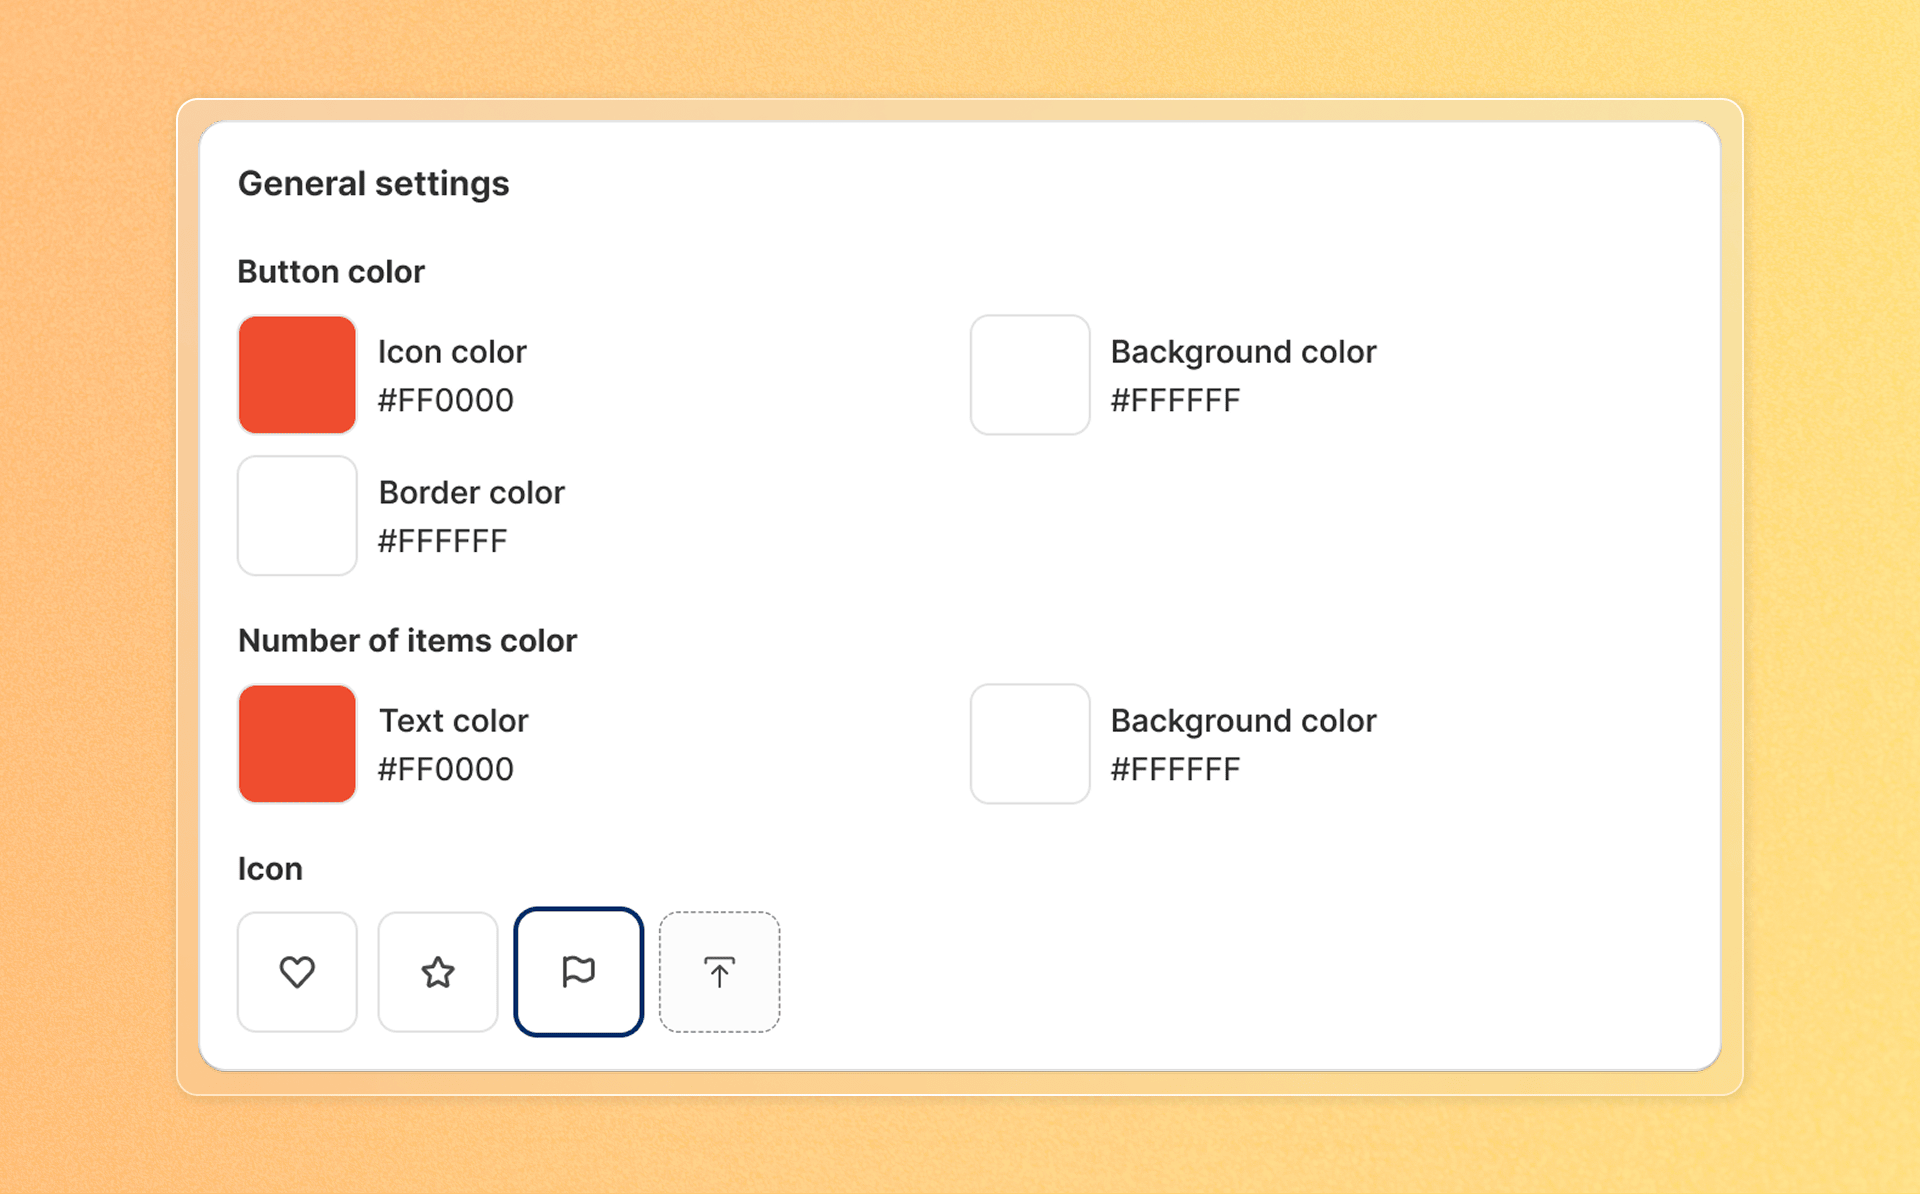
Under "General settings," customize the look of your access points:
- Button color
- Icon color: Click the color square to open the color picker and select a color
- Background color: Choose the color behind the icon
- Border color: Set the color for the button's border
- Number of items in color
- Text color: Set the color for the counter number
- Background color: Choose the color behind the counter number
- Icon type
- Select from preset icons (Heart, Star, Flag)
- Upload a custom icon by clicking the upload icon
Save your change
After making your selections, click Save to apply your changes to your store.
